UltraEditor's documentation
UltraEditor is a WORK IN PROGRESS level editor for ULTRAKILL
Setup
To start, please install BepInEx and UltraEditor in order to use the editor.
If you don't know how to install neither of them, please search for a simple tutorial on how to install mods or use a mod manager like Gale and import UltraEditor's dll file as a custom mod.
To check if the editor has been installed, launch ULTRAKILL and follow The basics section to check if you can continue.
The basics
To use UltraEditor as intended, please enter the CyberGrind level in the game, and before opening the door, press F1 and it should remove everything in the CyberGrind except the Player and the FirstRoom, and it should also open the editor menu, showing something like this:
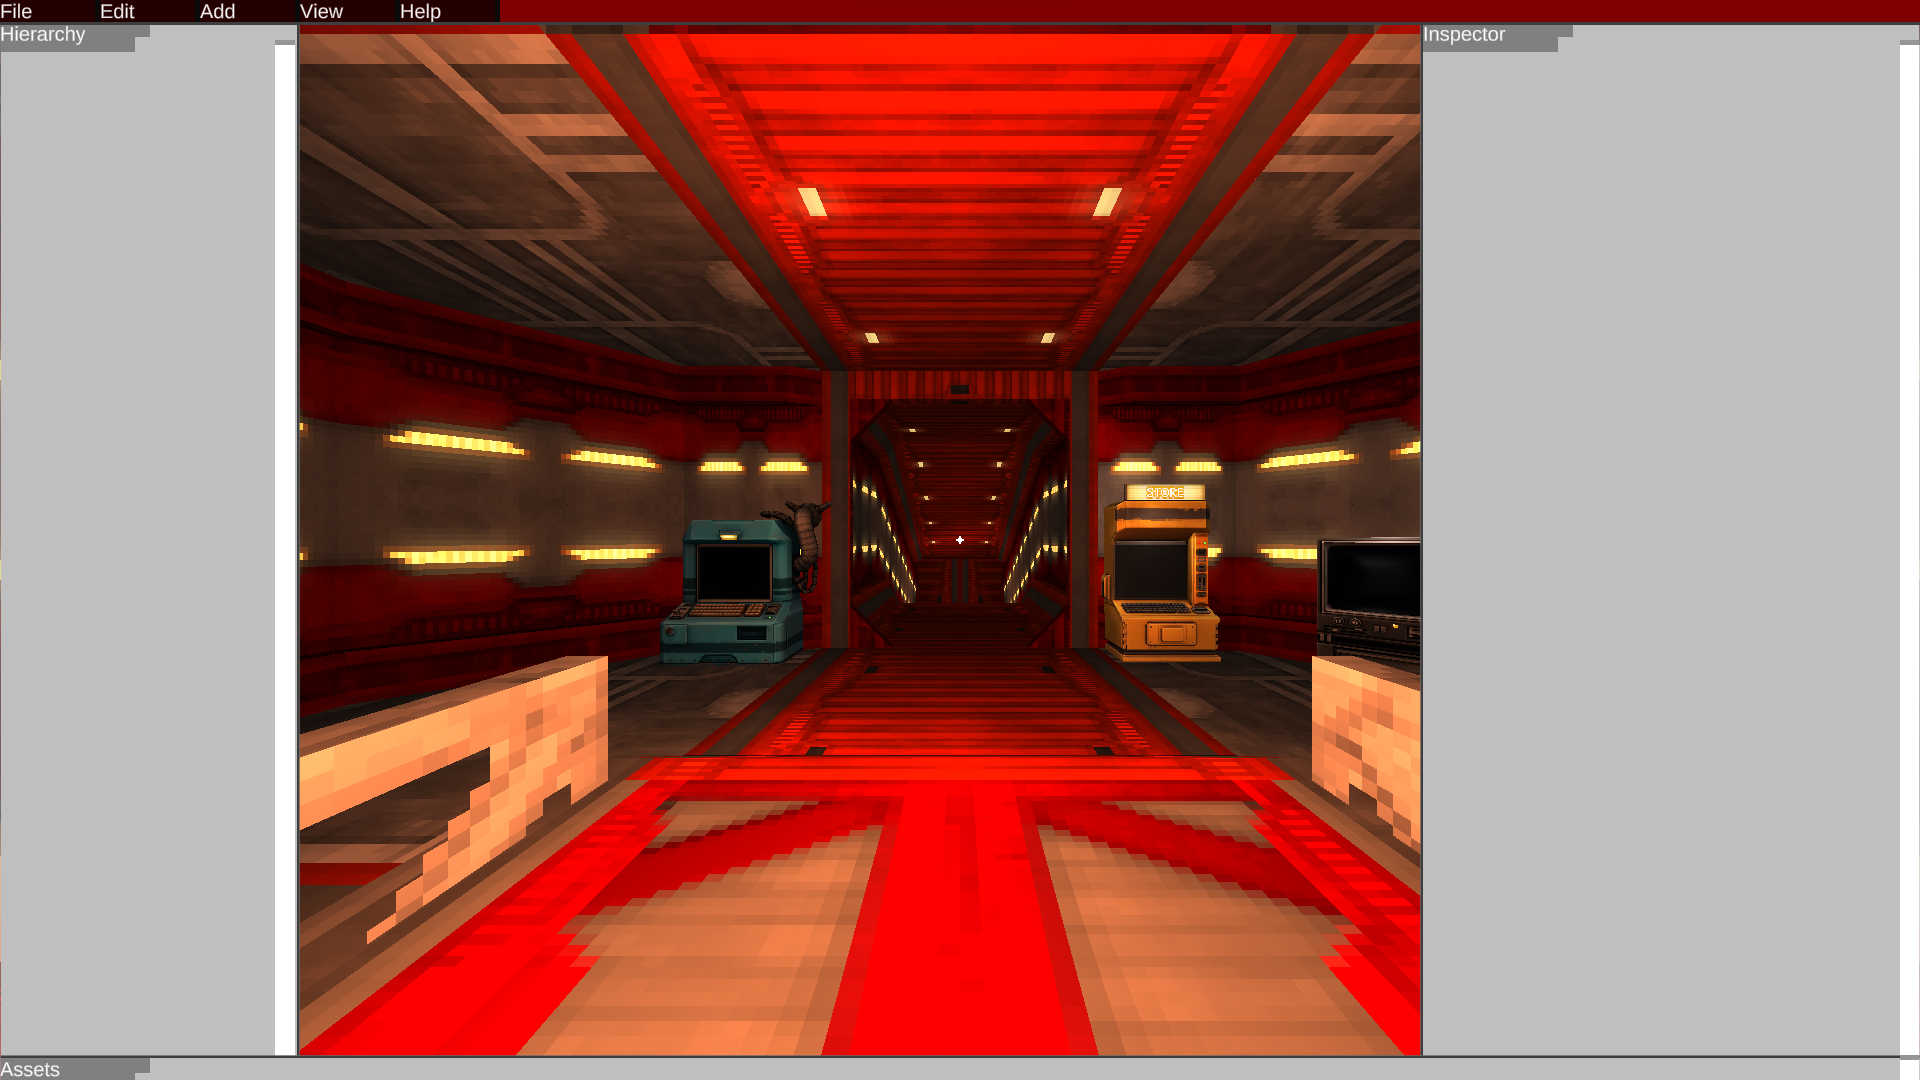
If that shows, then it would be time to understand each button and what they do.
Top buttons

These ones are the most important to know, since they MUST be used in order to make a level.
File
Controls everything related to saving and the folder of the saves, it's very important to have in mind if you don't want your changes to be broken while playing if you haven't saved properly.
Edit
Allows for duplicating, deleting, and toggling if an object is enabled.
Add
Allows for the creation of cubes (triggers), floors and walls
View
Controls the view of the editor itself. Allows to change the camera's filter, the inspector type, or the rendering.
Help
Gives the user information about the editor and how to use it.
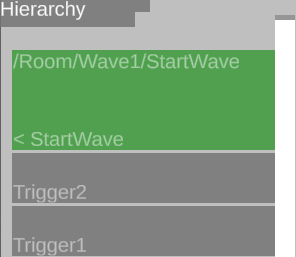
Hierarchy (left panel)

The hierarchy is super inportant in level creation, it allows to select objects without having to click on them (more on that later) and lets objects parent each other easily.
How it works
The hierarchy only shows created objects in the list, that means that default objects like the FirstRoom won't be in the list to use.
Parenting
By dragging an object into another, you can make it a child from the object you released the mouse on. To unparent an object, drag it to its parent again.
Paths
By clicking an object, you will select it, and the hierarchy will start to show the childs of the object you have selected instead of the scene objects. To go back, click the same object you have selected.
Inspector (right panel)
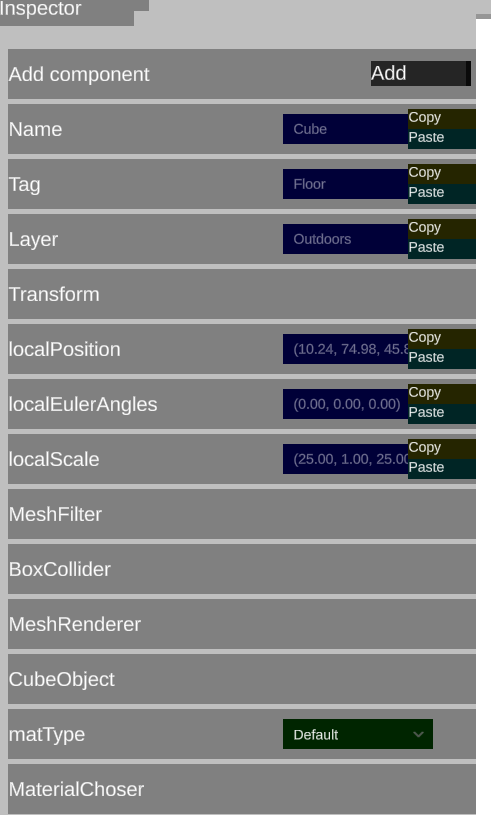
The inspector shows every modifiable property from the selected object, every property shown in the inspector depends on what components the object has and if they have been marked as a editor-modifiable property.
Modifying properties
To modify a property, just click in the InputField (blue box with text) on the property that you want.
For example, if you want to modify the position of an object, select it, click on the InputField of localPostion and make it your desired coordinates, for example, (10.00, 50.00, 0.00), and when you click outside of the InputField, it should apply the changes
Arrays
Arrays are a type of variable that allow to make it have multiple GameObjects be in the same variable.
It's very simple to assign objects to an array.

Just click the add button on the array...

Click change and a flashing message should appear showing something like this:

Then select the object you want to choose as that variable, and press ALT + S. Then the inspector should update showing the chosen object's name. If you want to remove it, just press Remove.

TIP: If you press Change while holding the ALT key, it should select the object that the variable is assigned to.
Assets (bottom panel)

In this menu you can spawn any object from the objects library that's in the list. To spawn an object, just click on its name.
Spawning shortcuts
Pressing ALT while pressing the spawn button should spawn that object disabled, avoiding it from triggering code if it has any.
Pressing SHIFT while pressing the spawn button should spawn that object inside the selected object, making it a child of the selected object and it should not select the spawned object like it does normally.
Enemies that are intended to be spawned with triggers should be spawned disabled by holding ALT, as if this is not done, it will put the enemy inside a AutomaticGoreZone, risking the enemy from not saving properly later.
Camera
The camera can move by having the cursor inside the camera view and pressing any of the W/A/S/D/Q/E keys.
Holding right click and moving the mouse will move the camera's view.
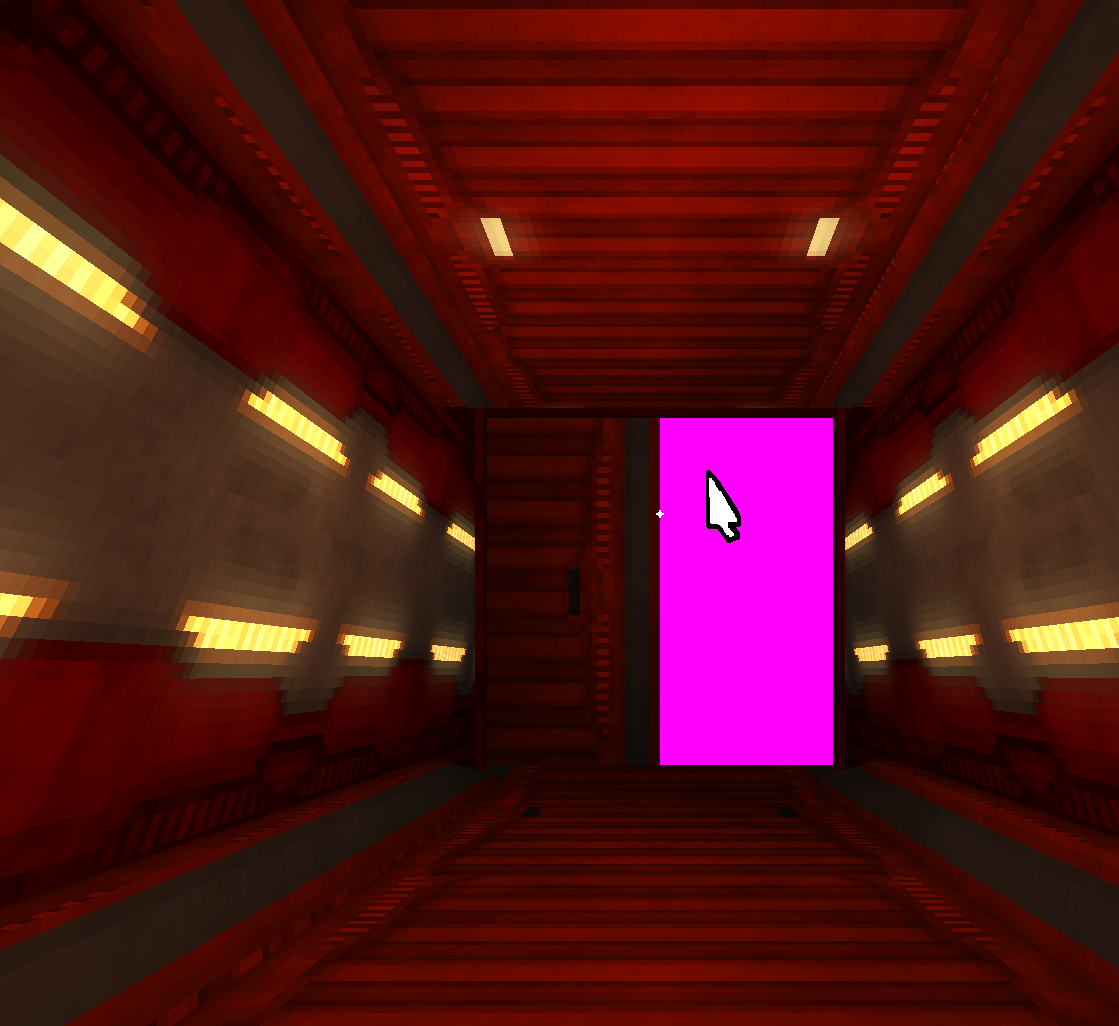
In cursor mode, the mouse should make the object that it's on a bright pink, this means that if you click that object, it will be selected.
When you select an object, it should change the mode to move mode, spawning arrows in each axis and letting you move the object as you will. To go back to cursor mode, unselect the object in the hierarchy or press F2.
Usage
Creating a basic level
To start, let's create a small room to know how to handle floors, walls, positions and rotations. Press F1 to open the editor in CyberGrind so it cleans it.
Click Add on the top of the screen, then click on Floor. Adjust the camera to your liking, then use the arrows to move the selected floor to a good position for you.
Once you have the floor done, do the same but thing creating a Wall. Then duplicate it by clicking Edit and then Duplicate.
There's a challenge here, and it is inverting the wall size so instead of pointing north, it points the east. To fix this, select the wall you want to invert, and in the inspector, change localScale to whatever you like the most
For example, a wall's scale by default is (25.00, 10.00, 1.00), if you want to invert it, you should change the scale to (1.00, 10.00, 25.00), changing the X scale with the Z.
Then go to the walls and floor that you've created, and select each one, each time going through the inspector and changing matType to your desired material type.
Once you have it all done, congratulations! You've made a level! Now, let's save it!
Press the File button, and then go to Save...
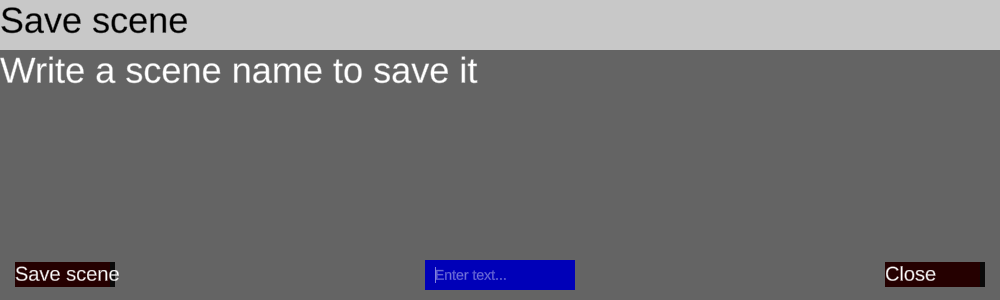
And choose the name you like. Then press Save scene. That's all! There you have your level! You can load it anytime by pressing File and then Load, type the name of the level and it'll spawn it!
When you load a level, it does not empty the CyberGrind again, so it will just spawn it there, leaving other objects if there are any others, you can save small scenes and then reuse them as prefabs so level creation is easier.
Triggers
Triggers are the most important thing in ULTRAKILL to make a level work and be replayable. They are invisible objects that the player cannot push or physically collide with, but they can detect when the player touches it.
Creating a trigger
To create a trigger, first go to Add and then spawn a Cube, cubes are different from walls or floors, since these won't have any tags or layer, making them a default object that the player can just see.
Select the cube that you've created, then in the inspector, there should be a button saying Add component, click it, and, for this example, let's select ActivateArena, the trigger that spawns enemies when touched.
Once you have the trigger created, move it to a position where you want it to be, then change the scale to your liking since it also affects the collider.
Then you must spawn some enemies for it to activate, holding ALT, spawn any enemies that you want from the Assets panel.
To assign the enemies to the trigger, select the trigger again, and there should be an Array named enemies. Add an item for each enemy that you've spawned, and then for each item, press Change and go to the enemy you want to spawn in that item, select the enemy, and press ALT + S to select it, and that with each one until there's none left.
To make the Player not see the trigger, you must select the trigger, and in the inspector change its layer to Invisible, keep in mind, it will also hide the object from the editor unless you go to View and press No filter
Then, just save the level before playing it, because changes done in playtime WILL affect the editor too. So if you activate an arena, it will no longer save.
Once you've your level saved, play it and touch the invisible trigger, it should spawn each enemy that you've assigned to the list
Trigger types
ActivateArena
This trigger's useful variable is enemies, being the array that controls every enemy that will be activated on touch. The component will be deleted when triggered.
ActivateNextWave
This "Trigger" does not have in mind any collisions with the player, instead it will wait until the amount of dead enemies that are a child of the trigger is equal or higher than enemyCount, then it will spawn everything in nextEnemies and will activate what's in toActivate. lastWave is a variable that if enabled, will make a slowdown when the wave ends.
ActivateObject
This trigger will activate everything in toActivate and deactivate what's in toDeactivate, pretty useful for optimization or events. By default it will be destroyed when touched unless canBeReactivated is on.
If you have any questions, ask in our discord server!